
01 / 4:39
Complete product tour
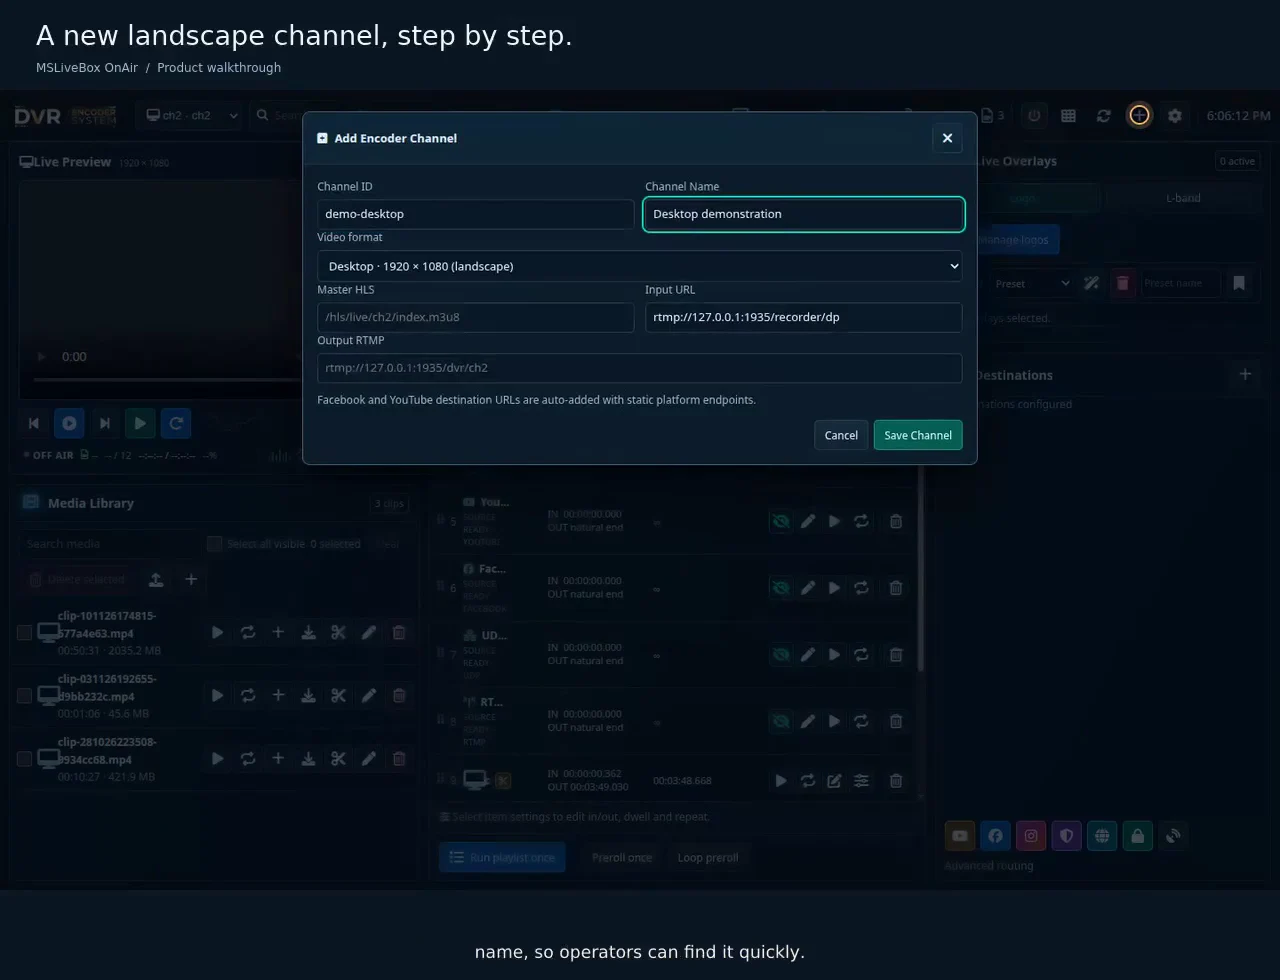
Follow the complete workflow: desktop and portrait channel creation, mixed input sources, DVR, trimming, Browser, branding, destinations and mobile browser controls.
Open walkthrough ↗RESOURCES / ONAIR IN PRACTICE
Authentic software walkthroughs, English narration and captions. Explore the complete OnAir tour or go straight to the step you need.
Watch the complete tour →01 / 4:39
Follow the complete workflow: desktop and portrait channel creation, mixed input sources, DVR, trimming, Browser, branding, destinations and mobile browser controls.
Open walkthrough ↗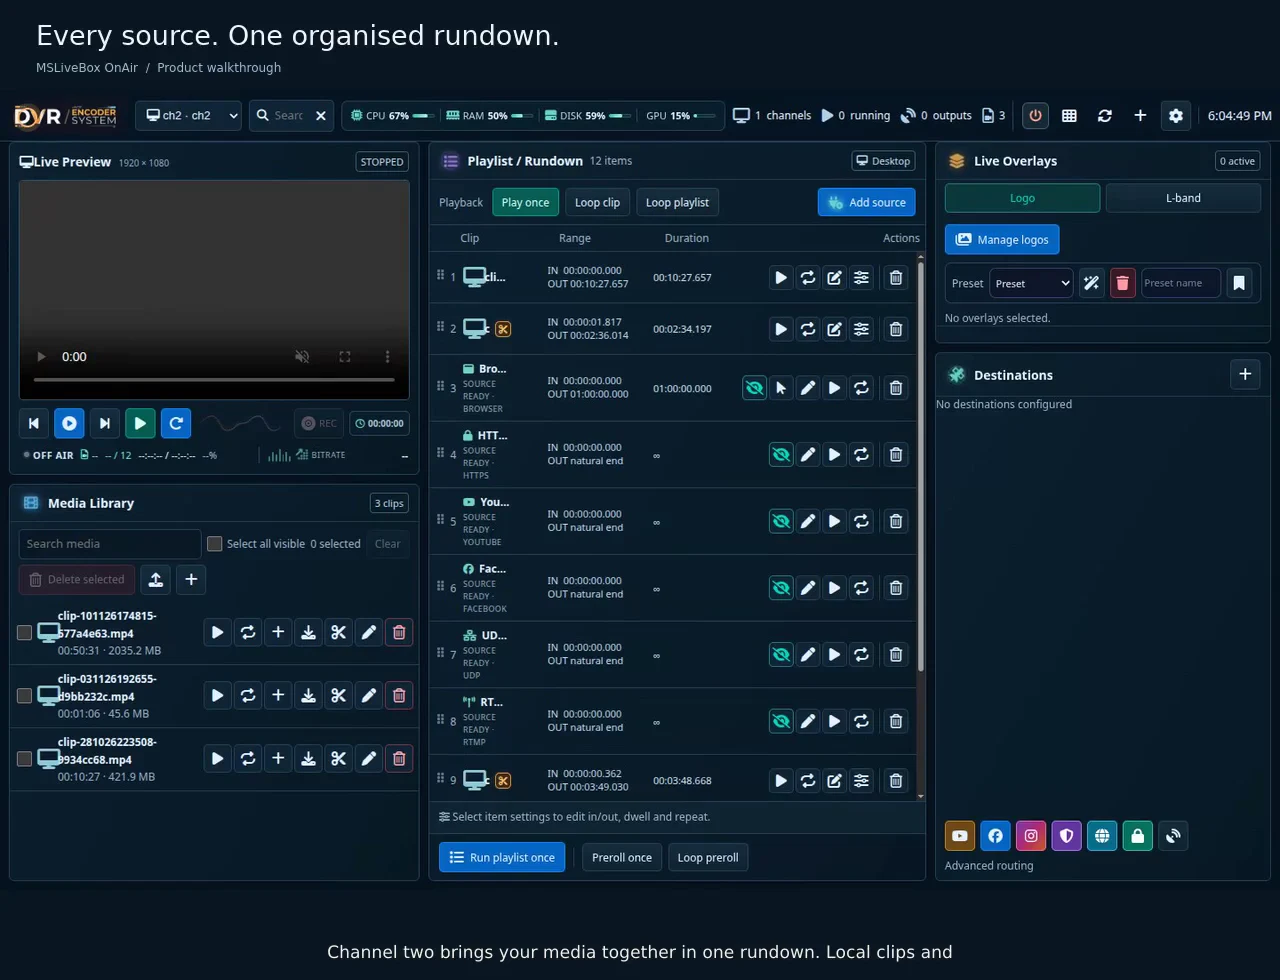
02 / 1:13
Walk through the real Channel 2 source list, network input options, timed and infinite sources, and Browser capture settings.
Open walkthrough ↗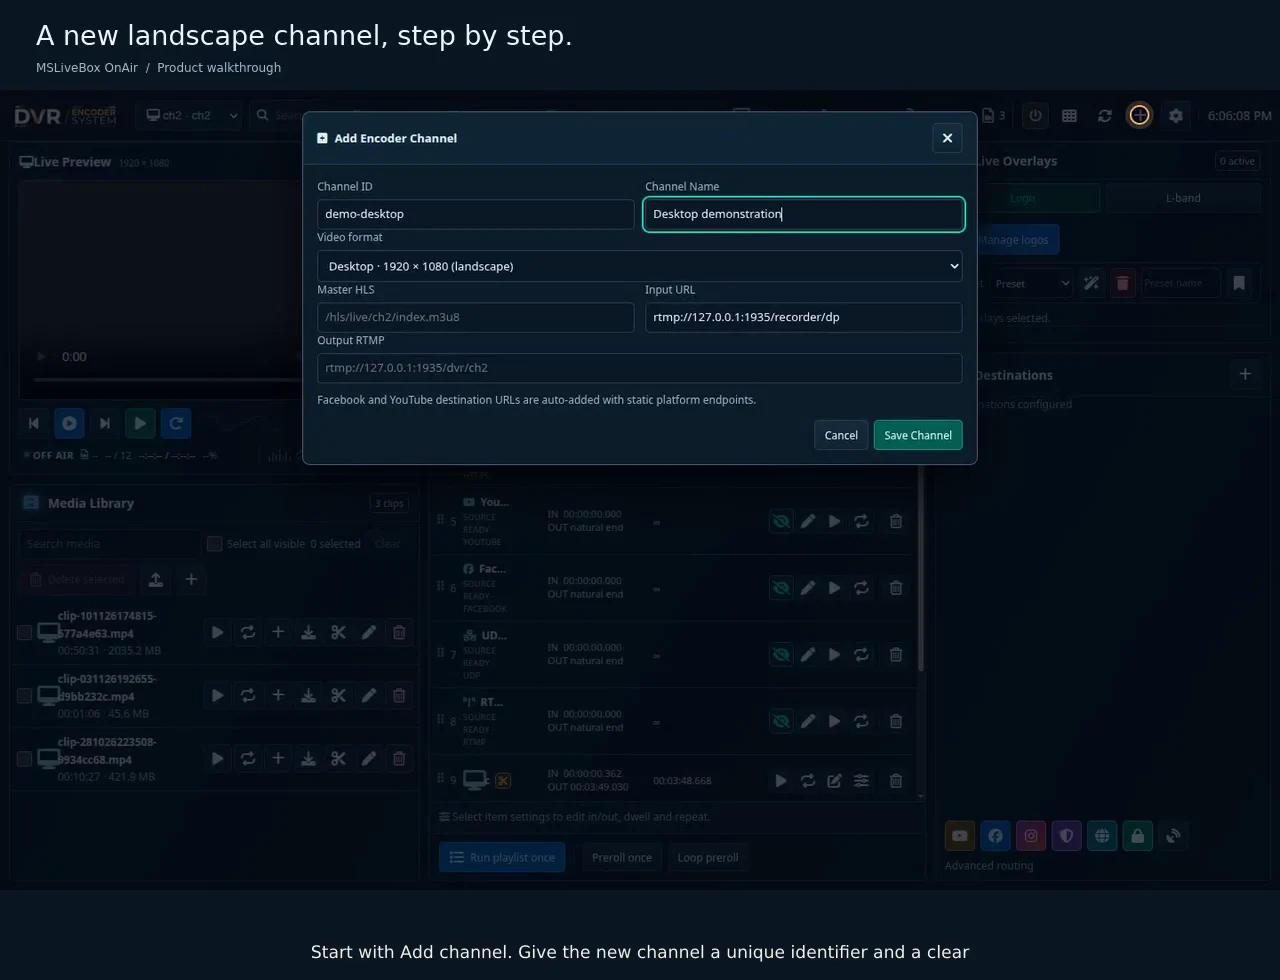
03 / 0:30
Add a real channel in the isolated demonstration workspace, choose Desktop 1920 × 1080, save it and inspect the new workspace.
Open walkthrough ↗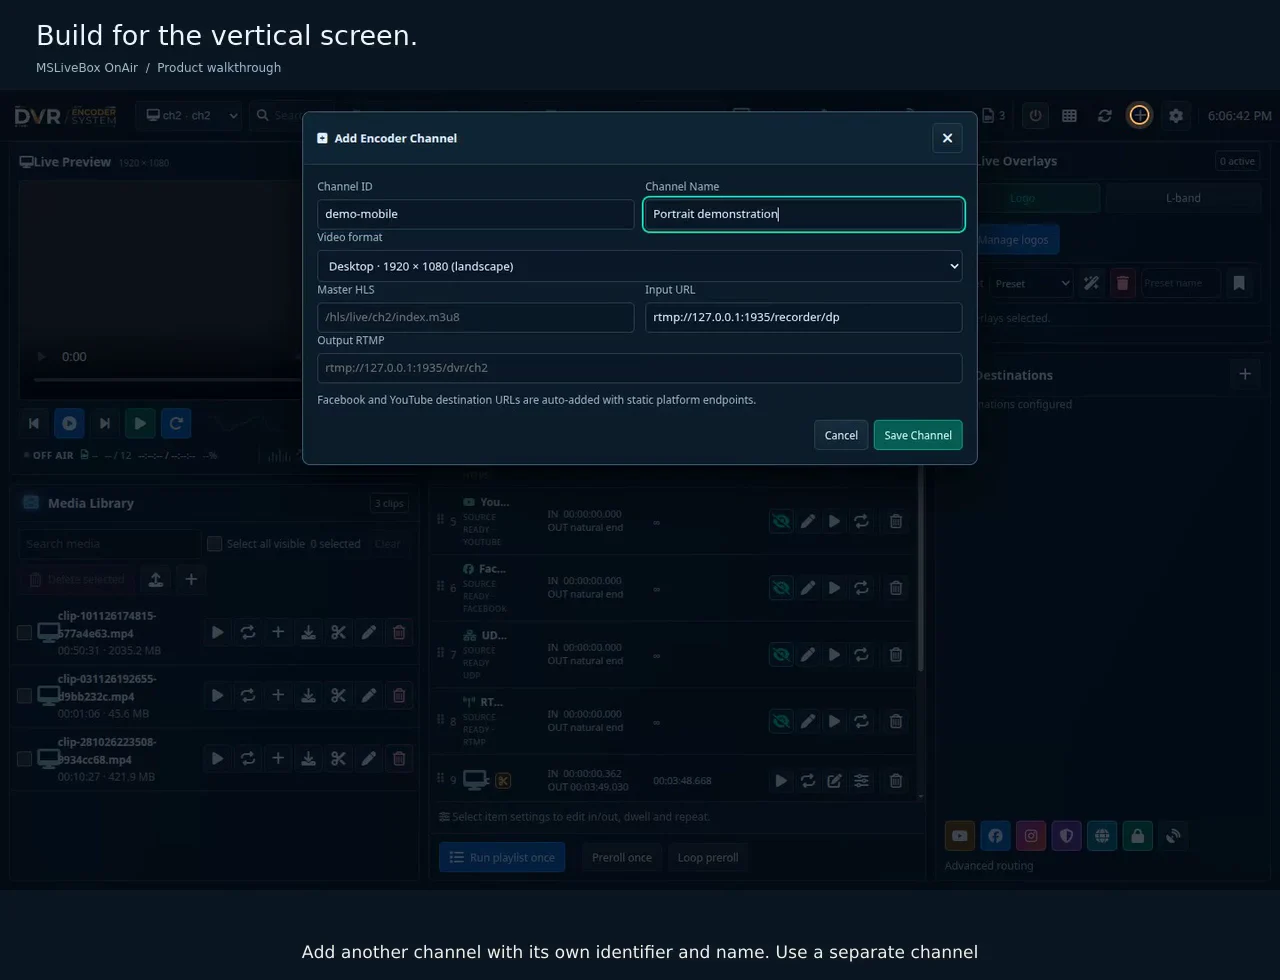
04 / 0:27
Create and save a Mobile 1080 × 1920 channel, then inspect its portrait workspace. Designed for supported vertical video files.
Open walkthrough ↗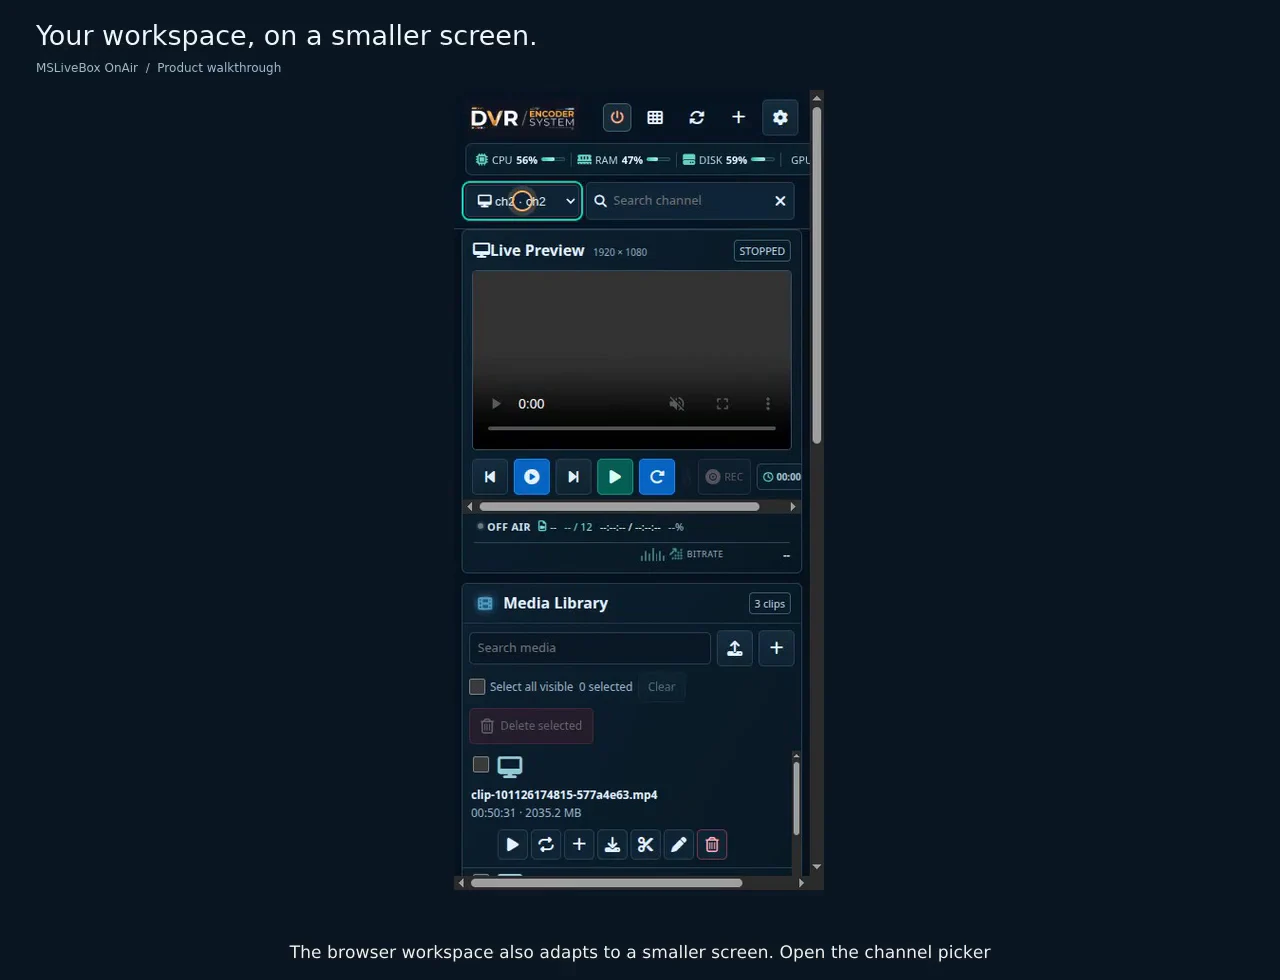
05 / 0:30
Explore channel selection, the mixed-source rundown and source properties at a phone-sized viewport.
Open walkthrough ↗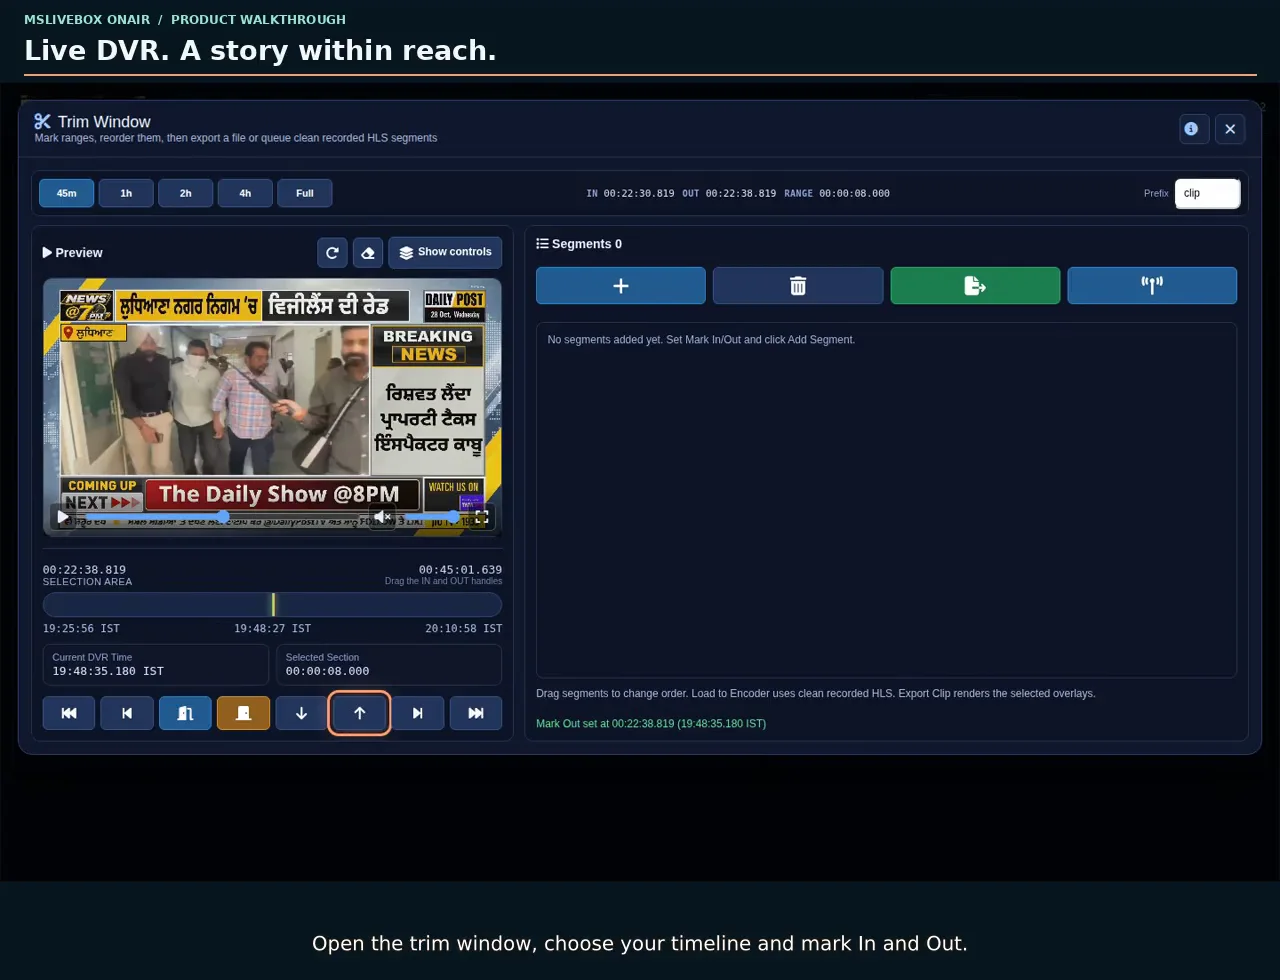
06 / 0:14
Keep recording while you review. Choose your timeline, mark IN/OUT, step through footage and collect the sections that matter.
Open walkthrough ↗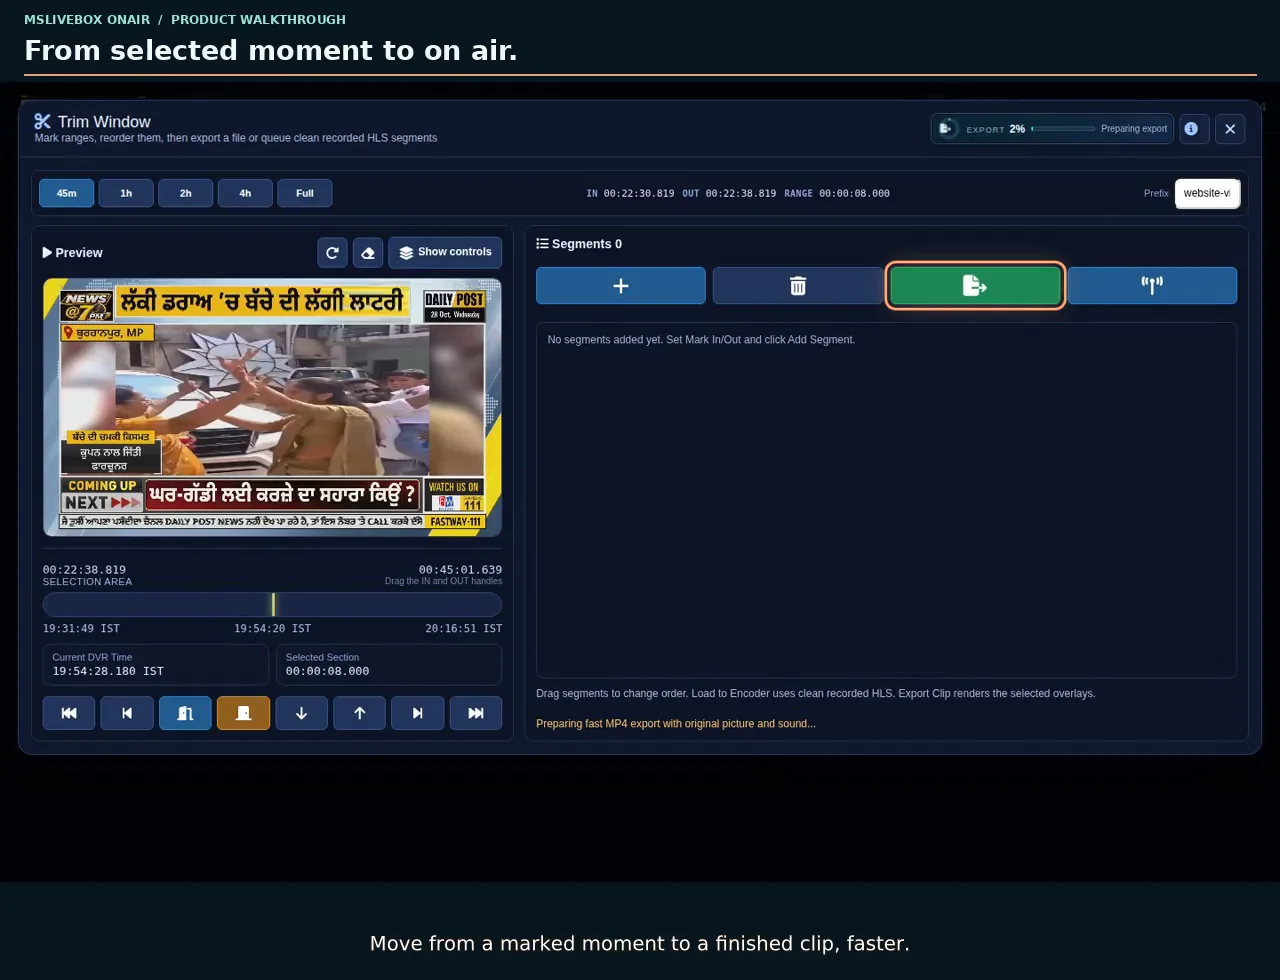
07 / 0:30
Export a compatible recording to MP4, or use Load to Encoder to prepare clean HLS segments without an MP4 render. Choose Queue Next or Play Now.
Open walkthrough ↗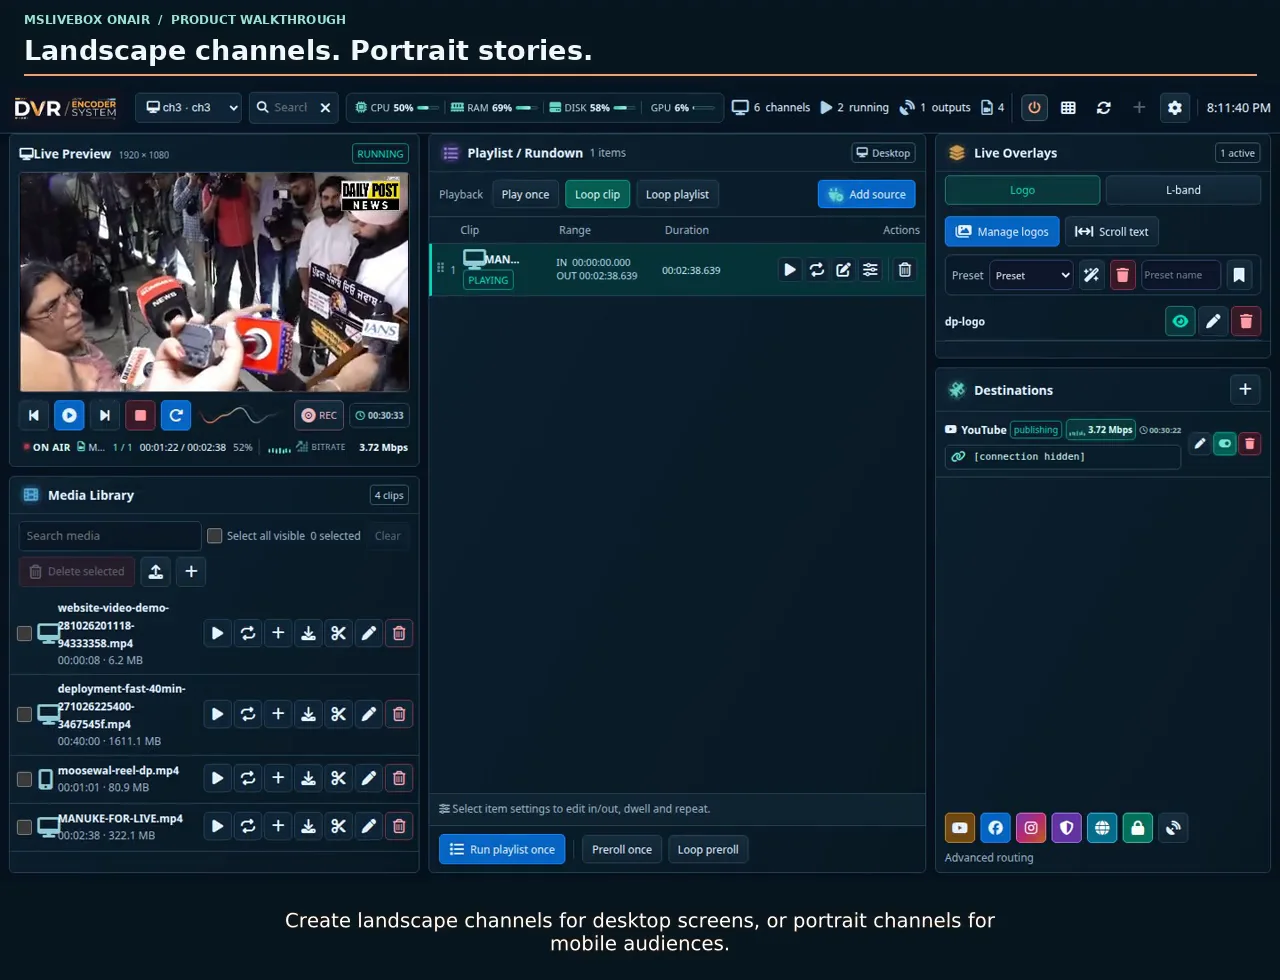
08 / 0:17
Create 16:9 landscape or 9:16 portrait channels. Upload and play vertical/Reels-format video files with the same playlist and channel controls.
Open walkthrough ↗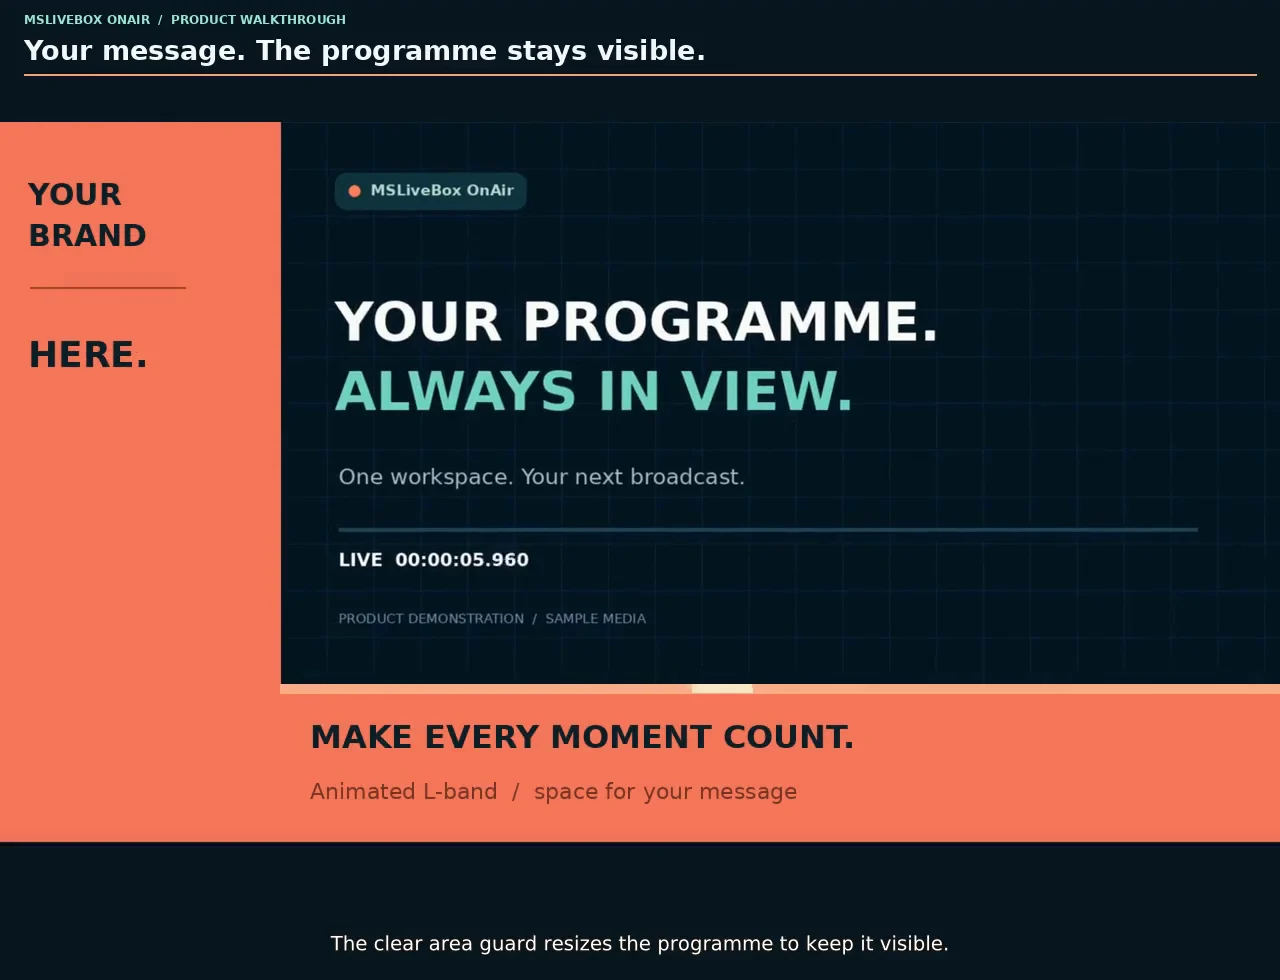
09 / 0:20
Animated L-bands fade in and out. The clear area guard resizes the main video; loop counts, start delays and repeat scheduling keep your bands organised.
Open walkthrough ↗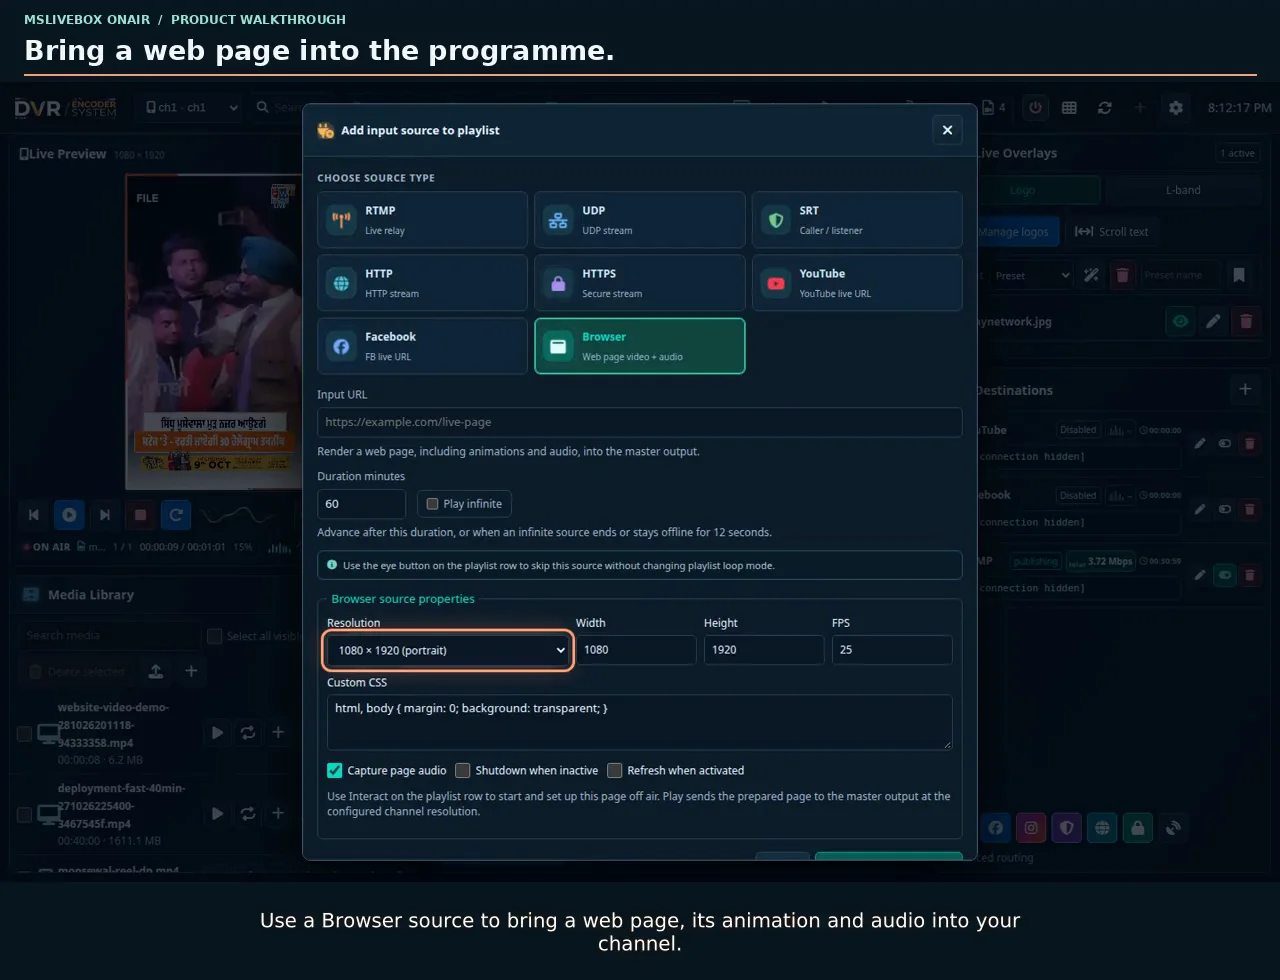
10 / 0:16
Bring a Browser source with animation and audio into your channel. Set capture geometry, prepare the page off air and interact before taking it live.
Open walkthrough ↗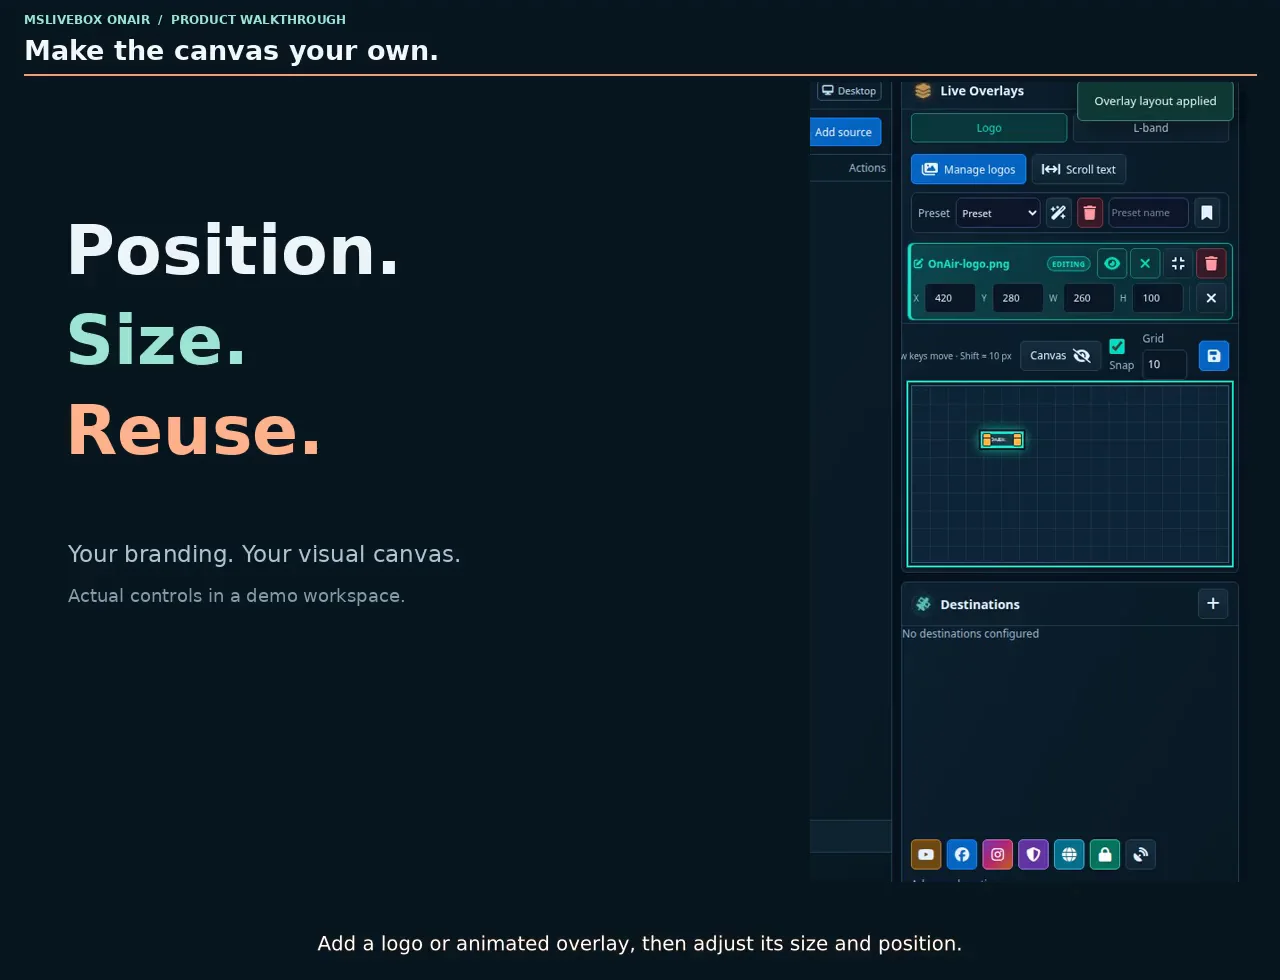
11 / 0:17
Position and size logos and animated overlays. Use automatic L-band clear area or custom main-video size and position to suit your artwork.
Open walkthrough ↗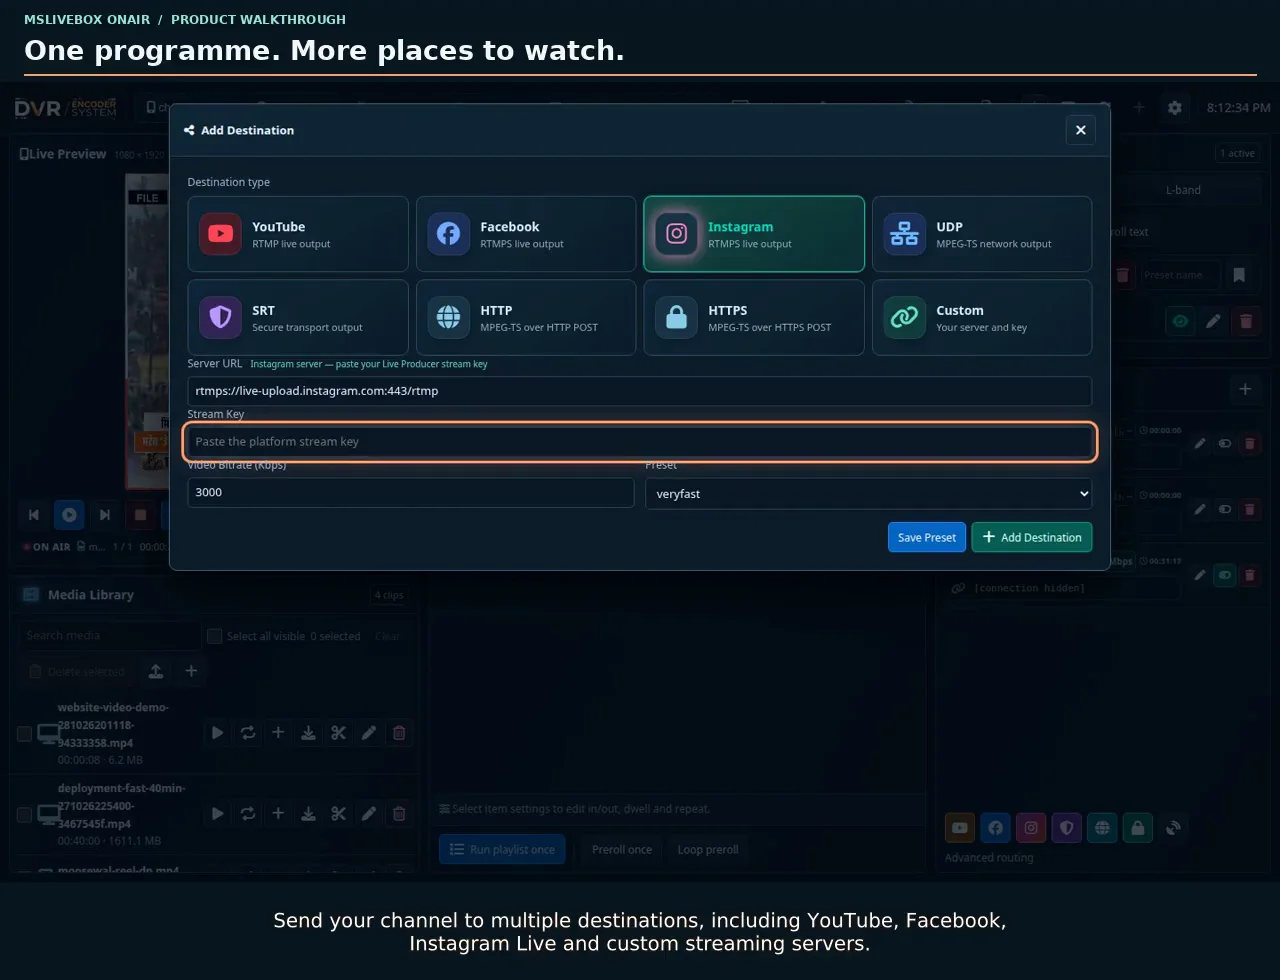
12 / 0:20
Add YouTube, Facebook, Instagram Live and custom destinations. Use RTMP/RTMPS, SRT, UDP or compatible HTTP/HTTPS receivers for your distribution workflow.
Open walkthrough ↗